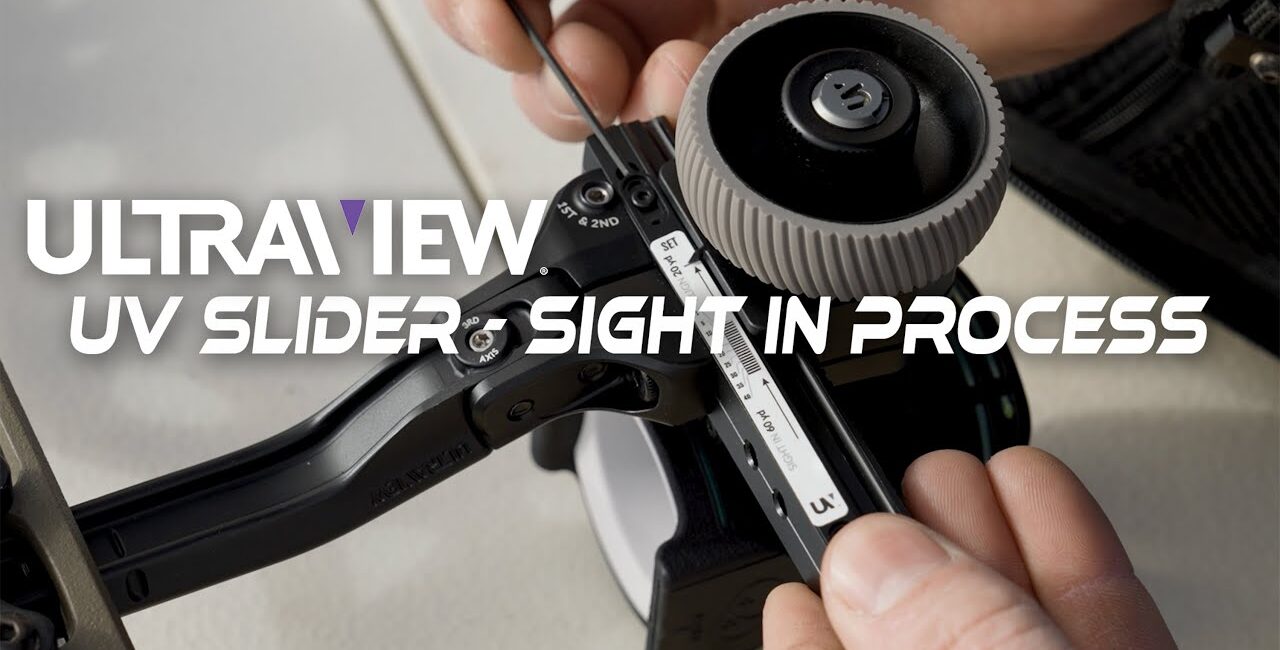
Whether you’re gearing up for your next hunt or getting your bow dialed in for practice, the Ultraview Slider is a precision sight that provides easy adjustments and reliable accuracy. In this guide, we’ll walk you through the essential steps to set up and sight in your Ultraview Slider for top performance in the field.
Step 1: Set the Scope Housing Relative to the Peep
Before you start, it’s crucial to ensure your scope housing is properly aligned with your peep sight. This step affects your pin gaps later on, so it’s important to get it right from the start.
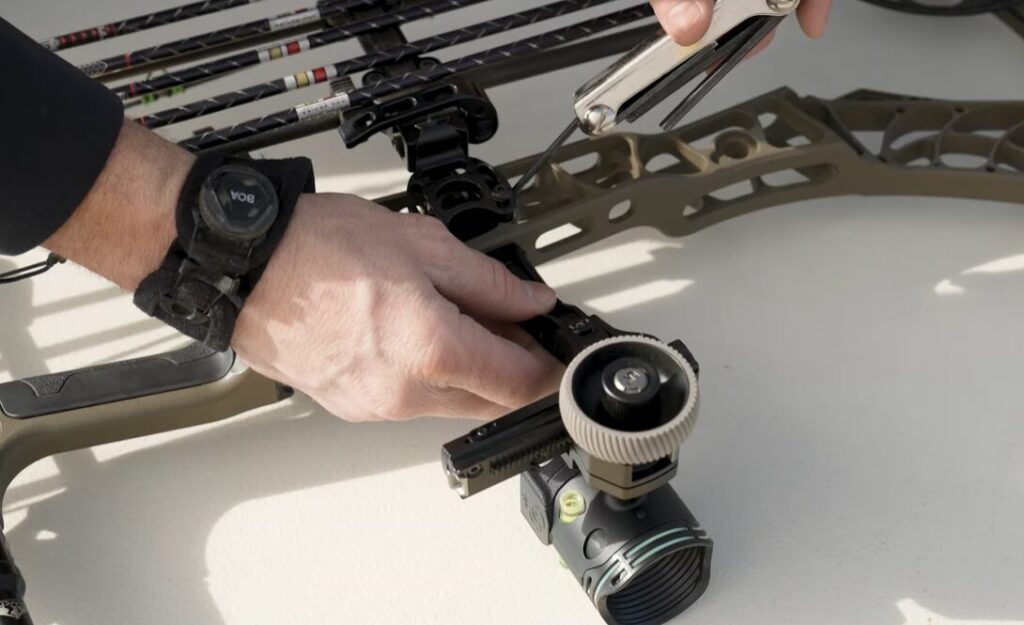
- Adjust your scope housing so that you have a consistent, centered view of the housing through your peep.
- If you’re using a dovetail or side mount, adjust the sight in or out to align the scope housing.
- For fixed Picatinny mounts, you may need to adjust your peep size if the housing doesn’t align correctly.
Step 2: Axis Adjustments
Although axis adjustments are critical, they deserve a guide of their own. For now, if you haven’t already done so, set your second and third axis adjustments for optimal accuracy.
Check out our axis adjustment guide for more detailed steps.
Step 3: Initial Setup – Sight in the Middle Pin at 20 Yards
The middle pin of the three-pin hunting kit will be your starting point, and we recommend setting it up at 20 yards.
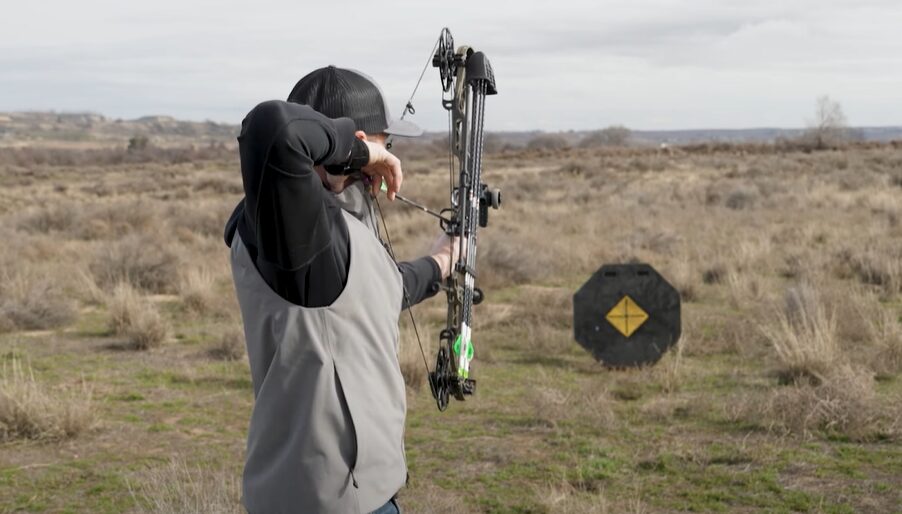
- Begin by setting the slider rail at approximately 3/4 up the rail.
- To save time, start shooting at 7–8 yards. Fire a couple of arrows and make any necessary adjustments.
- Once you’re close, move back to 20 yards to fine-tune your middle pin’s sighting.
Step 4: Fine-Tune the Windage and Elevation Adjustments
With your middle pin roughly set up, it’s time to dial in the windage and elevation for pinpoint accuracy.
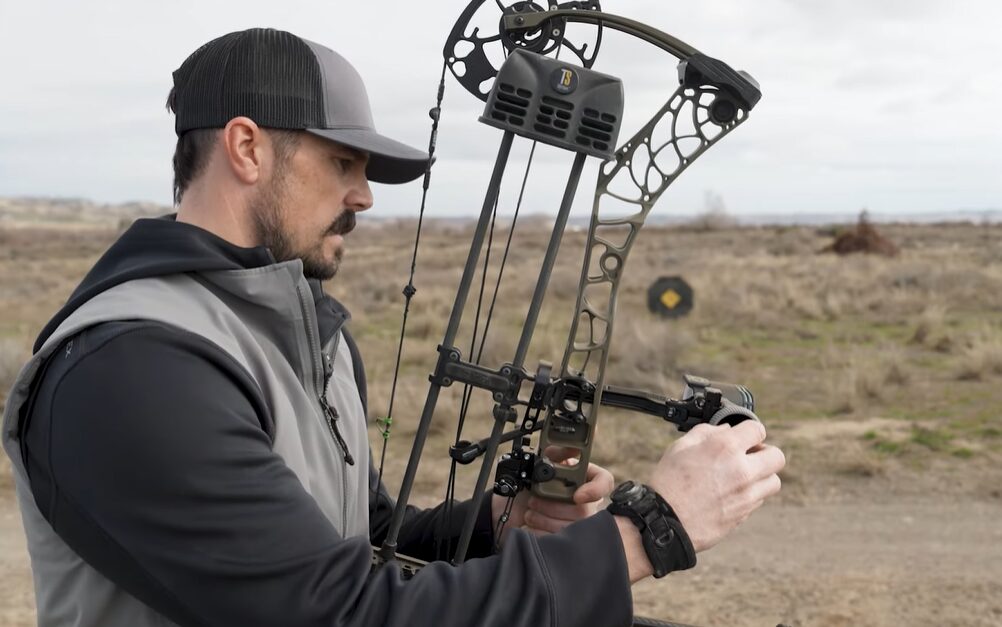
- Elevation: Make adjustments after each shot to ensure the arrows are hitting on the horizontal line.
- Windage: To adjust windage on the UV slider, pull out the lock knob and move the scope housing left or right as needed. Fine-tune until the arrows hit center.
Step 5: Set Up the Calibration Tapes
Now that your middle pin is dialed in, it’s time to set your calibration tape.
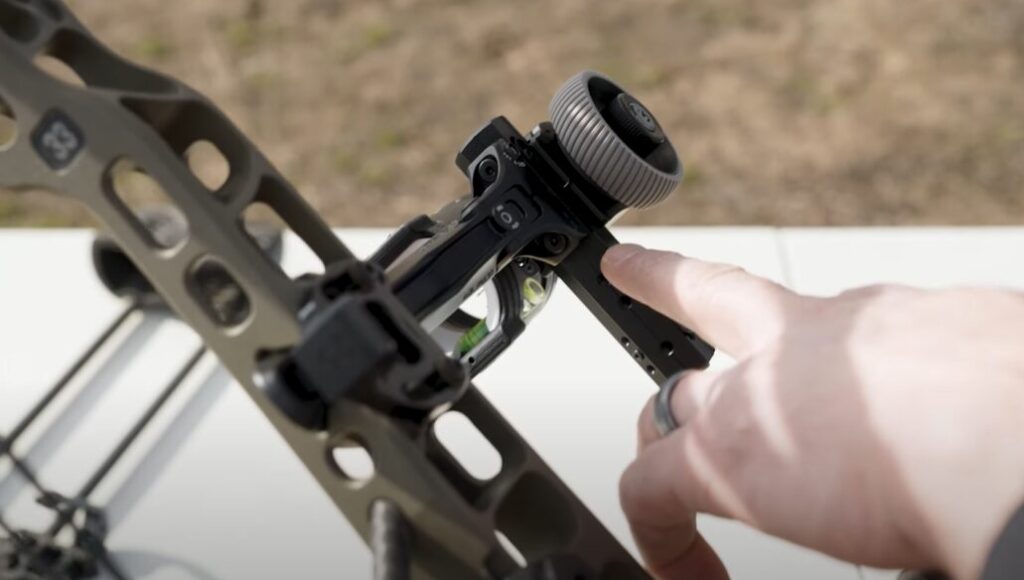
- Use the external indicator for the calibration tape. Line up the indicator with the 20-yard mark.
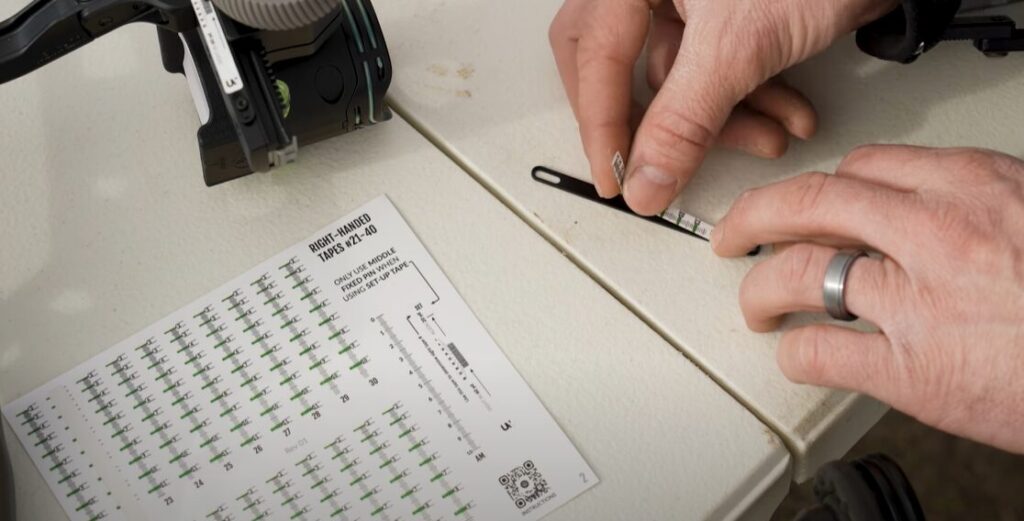
- Remove the small aluminum bars and attach the appropriate setup tape to the sight bar, aligning it with the 20-yard mark on the indicator.
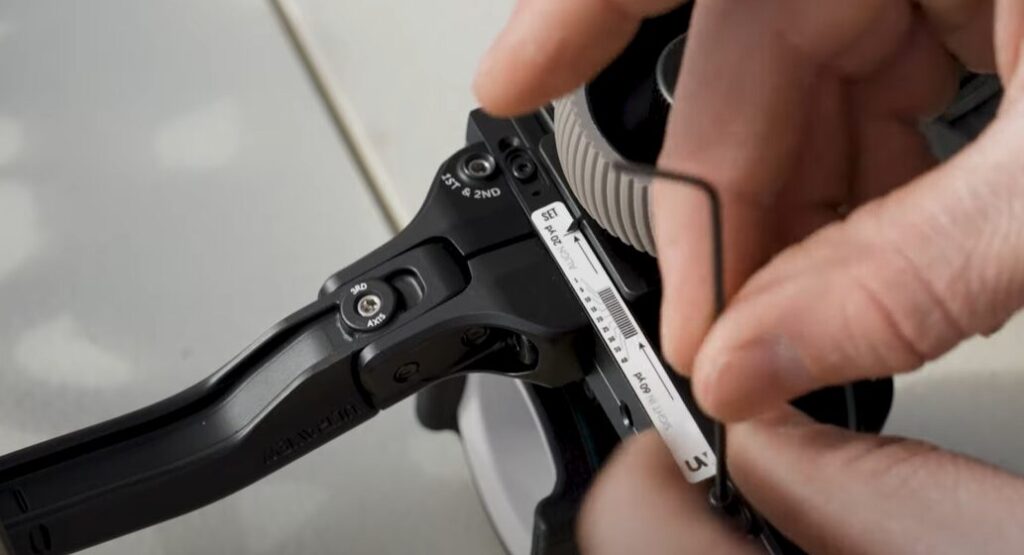
Step 6: Set the Sight Tape for Longer Distances (60 Yards)
Next, you’ll want to dial out to 60 yards to set the sight tape for longer shots.
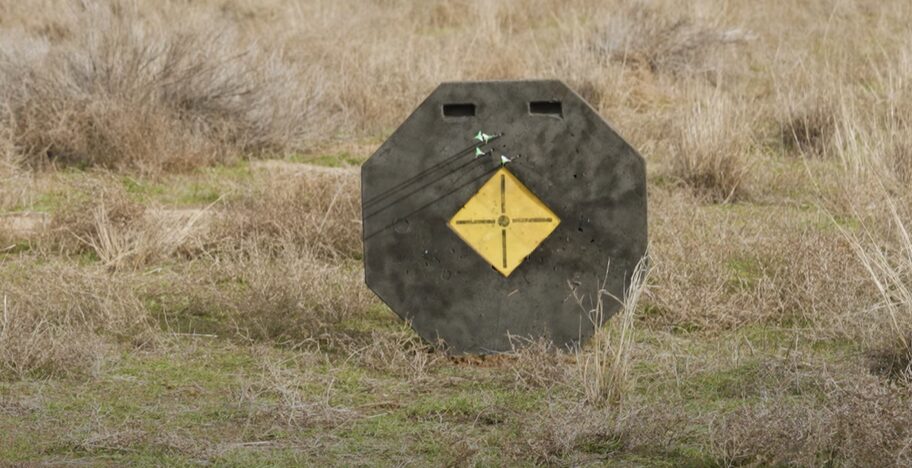
- Take a shot at 60 yards and make adjustments until your arrows are grouping consistently.
- Once set, determine which sight tape number you’ll need. Take a close-up photo of the indicator with your phone to help identify the correct sight tape.
- Peel off the correct sight tape (based on your previous shot) and attach it to the sight bar.
Step 7: Adjust the Pin Gaps
After installing the correct sight tape, adjust the pin gaps for the top and bottom pins:
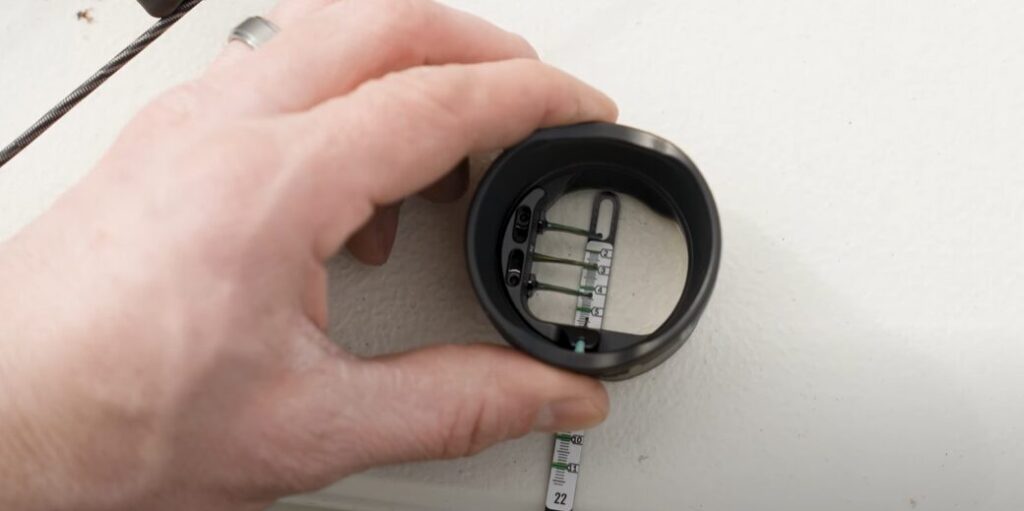
- Remove the pin cartridge and set the middle pin to 30 yards.
- Adjust the top pin for 20 yards and the bottom pin for 40 yards.
- Reinsert the pin housing and tighten everything down.
Step 8: Install the Final Sight Tape
Finally, install the sight tape on the window indicator, aligning it with the middle pin at 60 yards.
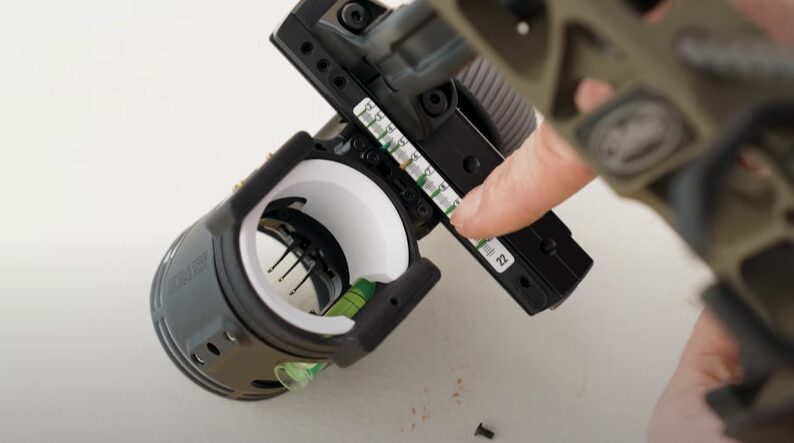
- Reinstall the screws and ensure everything is locked in place.
- Loosen the lock lever and dial back to 20 yards. Check that the middle pin lines up with the 20-yard mark to confirm proper installation.
Step 9: Fine-Tune the Top and Bottom Pins
Now, it’s time to dial in the top and bottom pins:
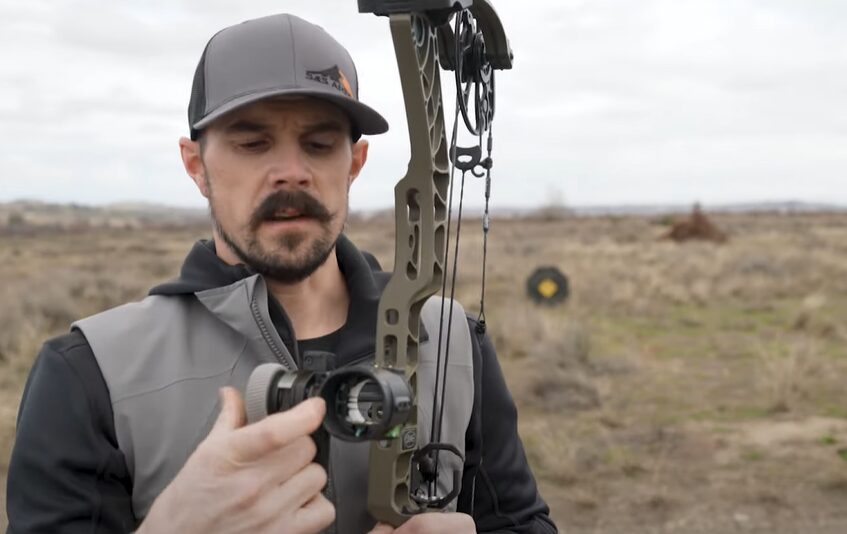
- Use the top pin to sight in at 20 yards. Make any necessary adjustments without moving the slider dial.
- Do the same for the bottom pin at 40 yards.
Step 10: Test and Adjust the Bonus Pin
The bonus pin on the UV slider is located just above the bubble level, and while it doesn’t have a specific indicator, you can use it for fun or long-distance shots.
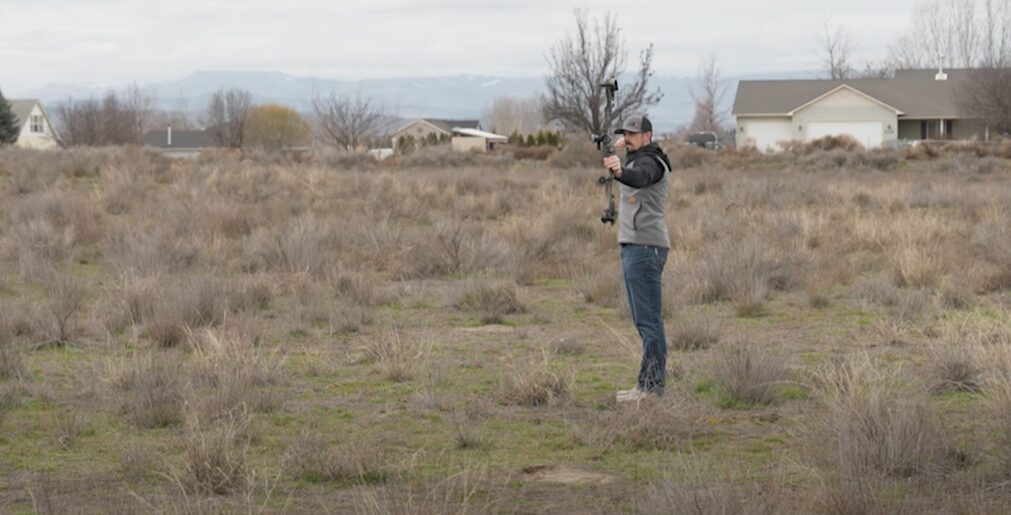
- Start at 50 yards and work your way back to see where the bonus pin lines up.
- Use it for long-range practice shots, but keep in mind it’s not ideal for regular hunting use.
Final Thoughts
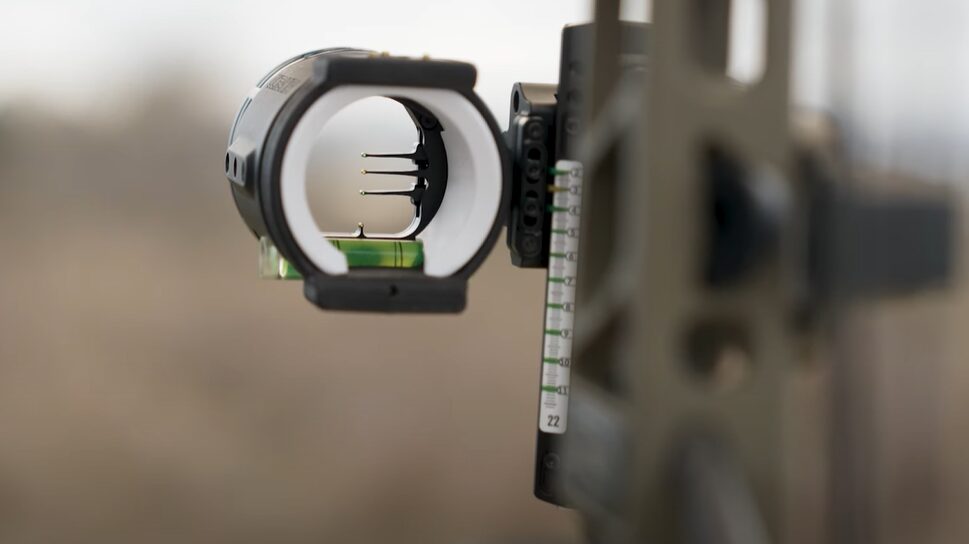
Sighting in the Ultraview Slider is a straightforward process, and once complete, you’ll have a versatile, precision tool for your bow setup. Remember to test at various distances and make fine adjustments to ensure consistent accuracy across all your pins. With practice, the UV Slider will quickly become one of your favorite sights for hunting and target shooting.
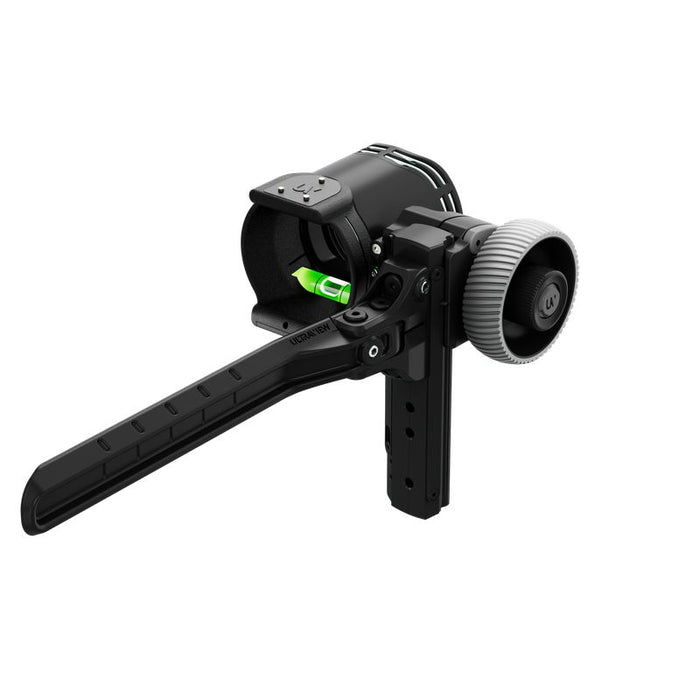
For more tips or questions on your Ultraview Slider, feel free to contact us at S&S Archery. We’re always here to help!

