If your arrows are drifting off-target the second you step out to longer distances or take a shot on an incline, your bow sight axis settings are almost certainly out of whack.
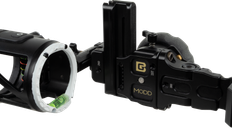
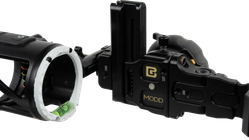
Setting up your 1st, 2nd, and 3rd axis sounds complicated, but it is just basic geometry. Here is the straightforward breakdown on how to dial in your sight—specifically using a Black Gold Modd, though the exact same principles apply to almost any adjustable bow sight on the market.
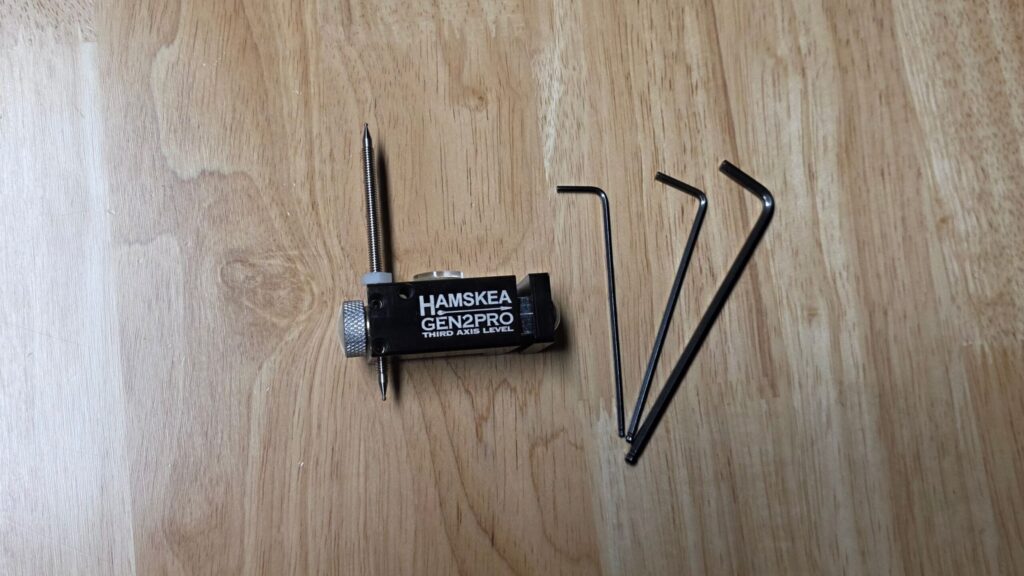
Gear Needed
- String Level: A clamp-on level with a long third-axis bar (like the Hamskea Gen 2 Pro) works best.
- Allen Keys: You’ll need a 9/64, 1/8, and 5/64 key.
- Vertical Reference: A plumb bob or a perfectly vertical wall corner.
Step 1: Prep and Mounting
- Tune the Bow First: Do not level a sight on an untuned bow.
- Mount the Sight: Line up your sight housing inside your peep. You want a tight, consistent sliver of daylight around the housing so your eye anchors at the exact same spot every time.
- Weight It Down: Bolt on every accessory you plan to hunt with—quiver, full arrows, stabilizers, even your bow stand. Bow torque at full draw changes when you add weight, which directly impacts your 3rd axis.
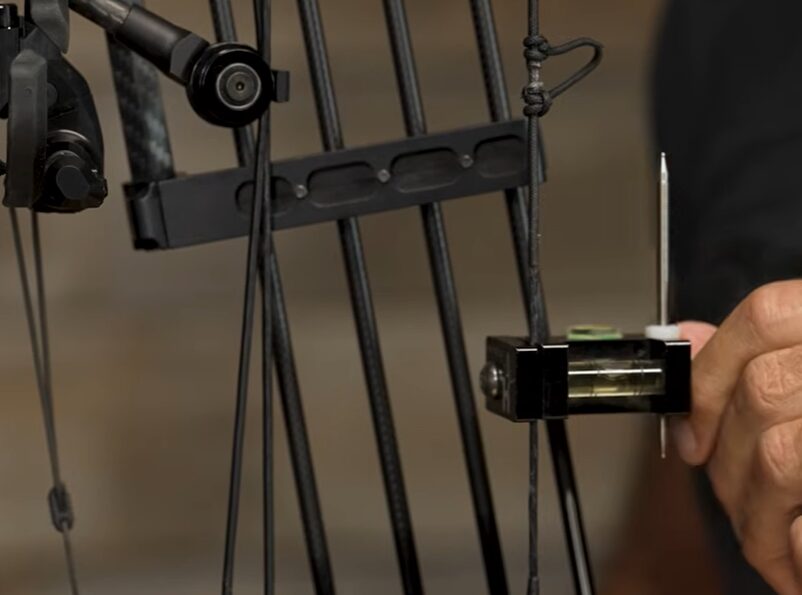
Step 2: Level the String
Lock your bow in a vise. Attach your string level and make micro-adjustments to the vise until the string bubble is dead center.
Once that string is perfectly vertical, do not touch the vise again.
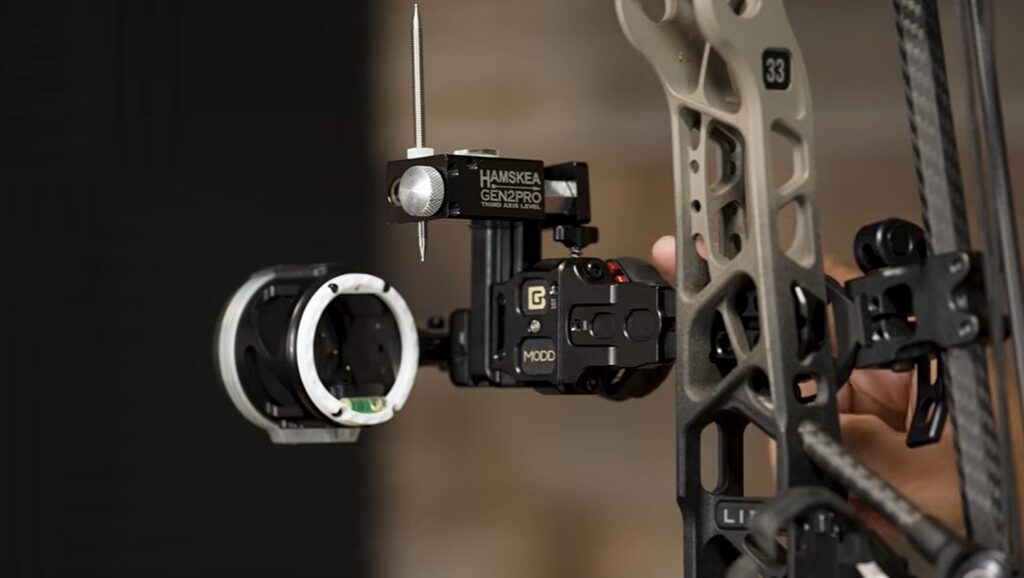
Step 3: Set the 1st Axis (Perpendicular Rail)
- Why it matters: 1st axis makes sure your sight’s vertical rail moves perfectly up and down relative to your string. If this is off, your 20-yard shots will hit dead center, but your 60-yard shots will drift left or right.
- How to fix it:
- Mount your sight level directly to the sight rail (not over a sight tape).
- Loosen the top 9/64 locking screw on the sight.
- Turn the micro-adjust screw using a 5/64 key until the level on your rail matches the string level.
- Lock down the top screw.
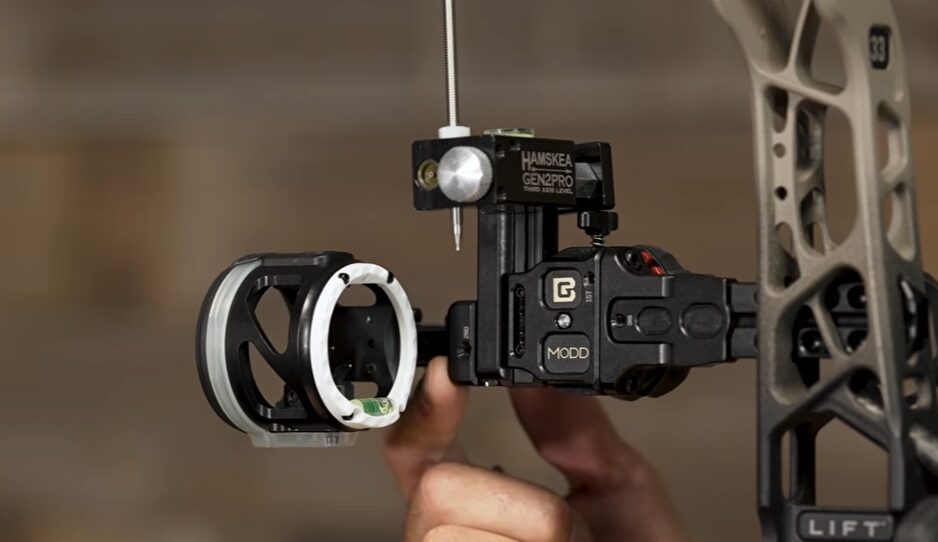
Step 4: Set the 2nd Axis (Housing Level)
- Why it matters: This levels the bubble inside your sight housing to match your rail.
- How to fix it:
- Leave the rail level attached.
- Crack open the bottom adjustment screw on the housing using your 9/64 key.
- Use your 5/64 key to tilt the sight housing until the bubble inside the housing matches the bubble on the rail.
- Tighten the lock screw back down.
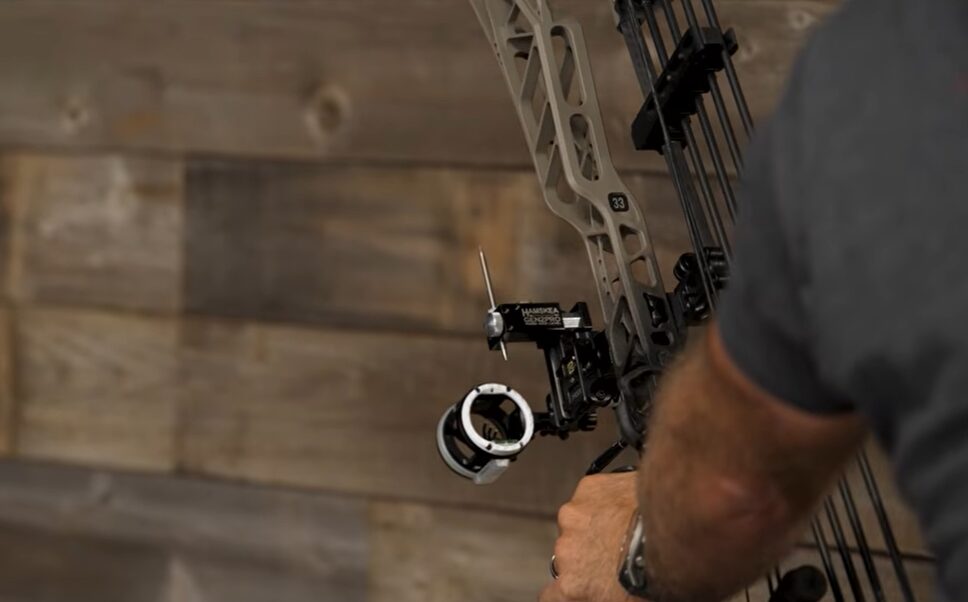
Step 5: Set the 3rd Axis (Full Draw & Angled Shots)
- Why it matters: 3rd axis controls the rotational tilt of the sight housing (like opening or closing a door). If your 3rd axis is off, taking steep uphill or downhill shots will throw your bubble off and send your arrow wide.
- How to fix it:
- Do not rely on a vise for this—full draw alters your bow geometry under tension. You must do this step manually.
- Draw your fully loaded bow back while aiming at a vertical reference line (a plumb line or wall corner).
- Tilt the bow down at a 45-degree angle while staying on the line.
- Look at the bubble in your sight housing. If the bubble drifts left or right as you tilt, let down and use a 1/8 key on the top pivot bolt to adjust the housing angle.
- Repeat until the bubble stays dead-center when level and when aimed downhill.
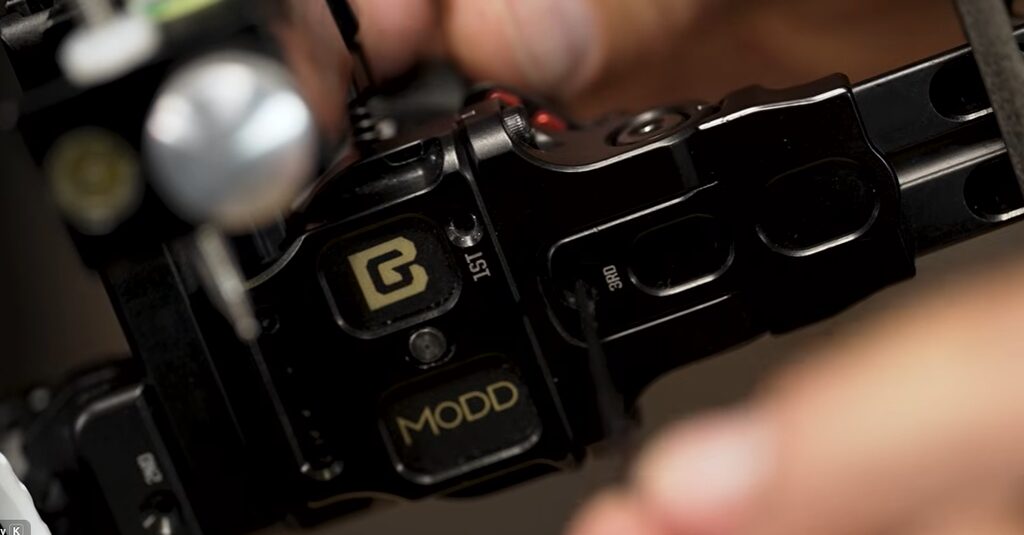
Once all three axes are locked down, your sight is completely square to your bow frame at full draw. You’re ready to sight in and hit the range.